Quick bread is fun and easy to make. This recipe is one of my favorite for flavor


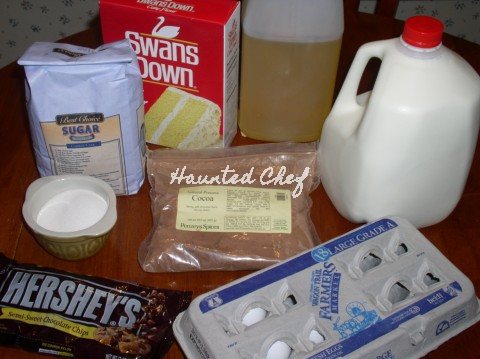
1 3/4 cups flour
1/2 teaspoon baking powder
1/4 teaspoon baking soda
1/2 teaspoon salt
1/4 teaspoon cinnamon (unless you like more)
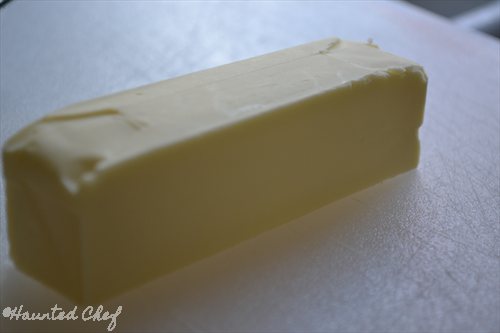
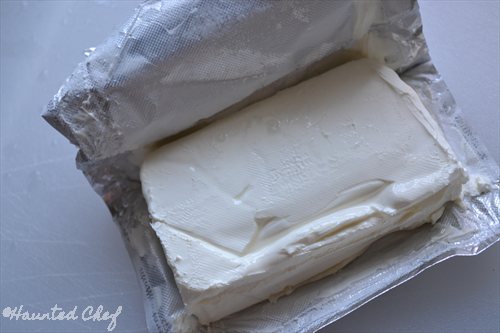
1/2 cup butter
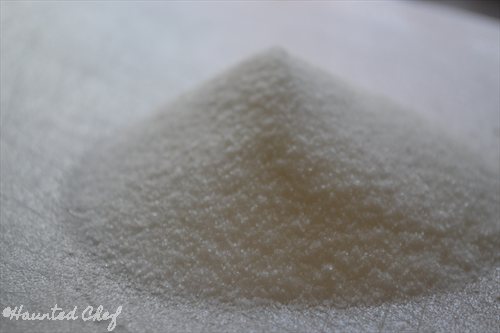
3/4 cup sugar
1/4 cup brown sugar
2 eggs
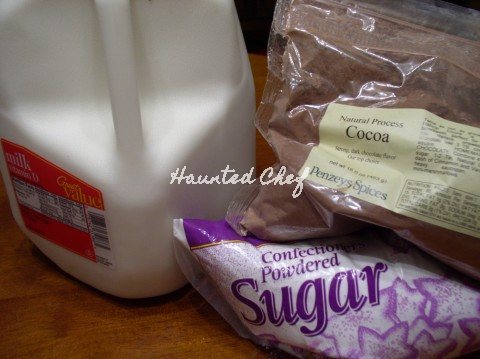
1/2 cup sour cream
1 teaspoon vanilla
1 1/4 cup strawberries
3/4 cup walnuts

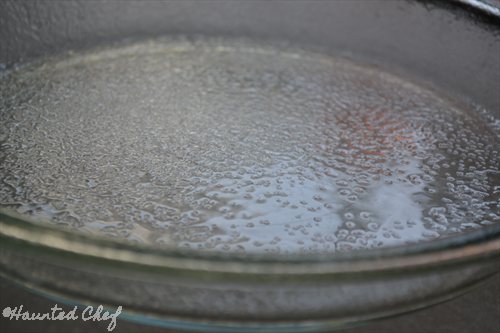
Grease your pan and preheat the oven to 350

Wash your berries

Hull the berries

Chop the berries and set aside

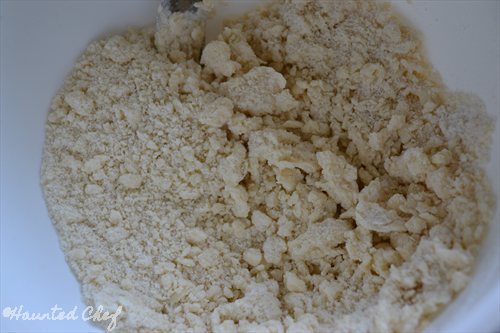
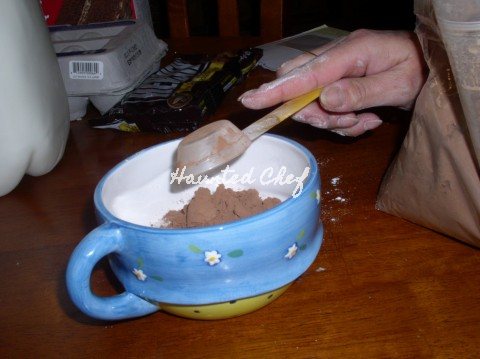
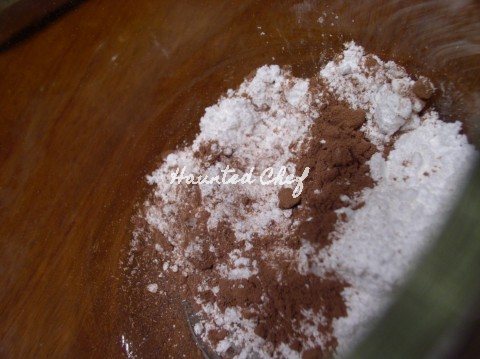
Dump flour into mixing bowl

Add baking powder and baking soda

Add salt

Add the cinnamon and mix well then set aside

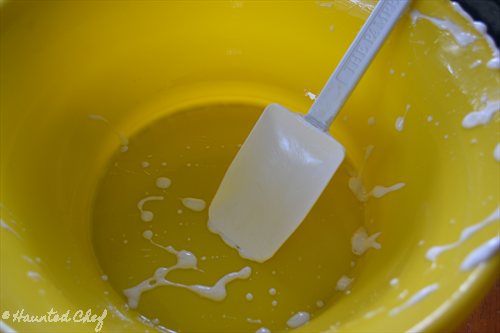
In a separate bowl dump in softened butter

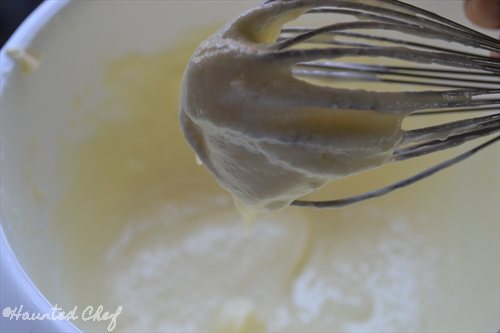
Add in the sugar and brown sugar and beat by hand for a minute to combine

Add the eggs into the butter sugar mixture and mix to combine

Add in the sour cream

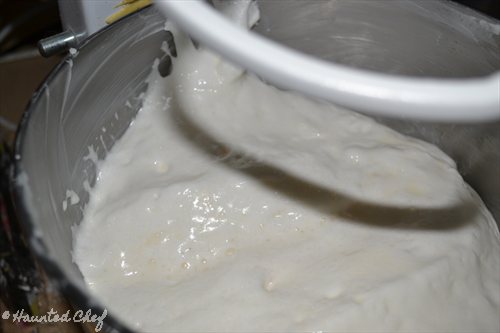
Add in the vanilla and mix again. Stir in the flour mixture just until all moistened

Fold in the chopped strawberries and nuts

Mix gently

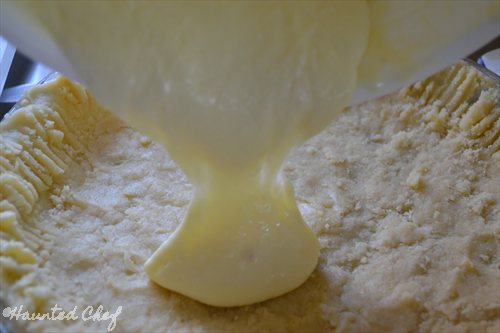
Pour into your greased bread pan and bake at 350 until done

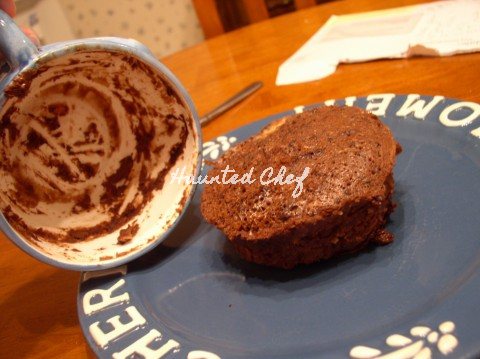
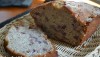
Let stand 10 minutes then remove from the pan. This is what it will look like

This is what it looks like when you cut it open hot. I couldn’t wait until it cooled down!

With butter while it is hot it is extra yummy!

This quick bread is really good! I like it with more cinnamon than the original recipe. Why not try 1 teaspoon cinnamon instead for extra flavor

Great for breakfast or anytime you have a sweet tooth